Your sourdough starter sits on the counter like a science experiment gone wrong – flat, smelly, and showing no signs of the bubbly activity you see in online videos. After days or weeks of feeding it religiously, you’re left wondering if you’re doing something fundamentally wrong or if sourdough is just more finicky than everyone claims. The truth is that starter problems almost always trace back to specific, fixable issues with feeding ratios, temperature control, water quality, or flour choice that can be corrected once you understand what’s actually happening inside that jar.
Understanding What Makes Starters Work
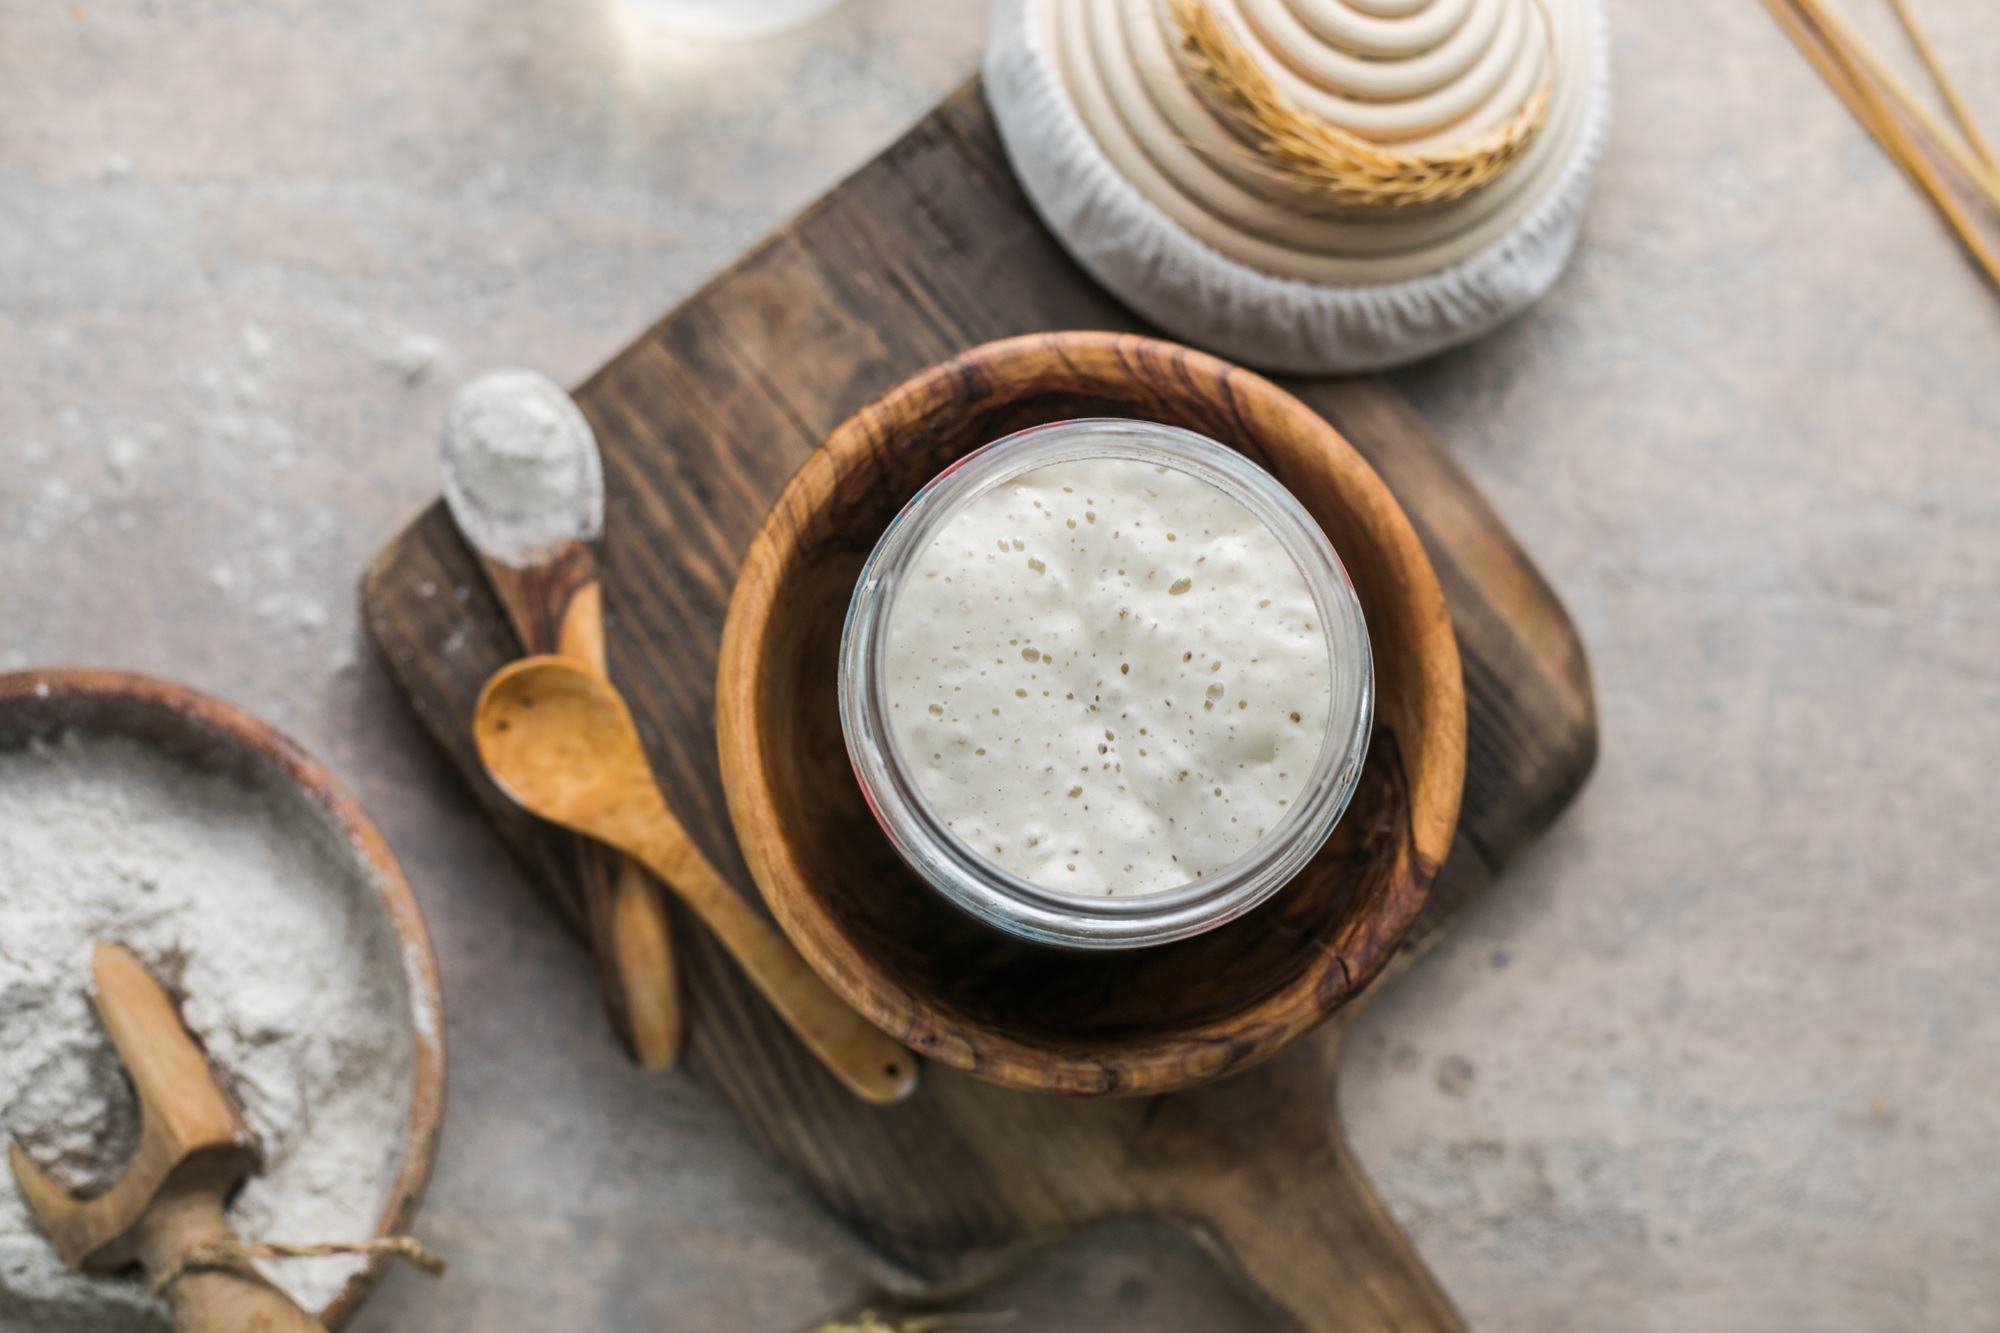
Sourdough starters are complex ecosystems of wild yeast and bacteria that require specific conditions to thrive and produce reliable leavening power.
The Microbiology Behind Rising
Healthy sourdough starters contain wild yeast strains that consume flour sugars and produce carbon dioxide gas for rising, while lactic acid bacteria create the characteristic sour flavor and preserve the culture. These microorganisms must maintain proper balance – too much bacteria creates overly sour, sluggish starters, while insufficient bacteria allows harmful microbes to take hold.
Environmental Factors
Temperature directly affects fermentation speed and microbial balance in sourdough starters. Optimal temperatures of 75-80°F encourage vigorous yeast activity and proper bacteria ratios, while cooler temperatures slow fermentation and warmer conditions can kill beneficial microbes or encourage unwanted bacteria growth.
Feeding Ratio Science
The ratio of starter to fresh flour and water determines fermentation speed, acidity levels, and microbial health. Common 1:1:1 ratios work for maintenance, but struggling starters often need adjusted ratios to rebalance their microbial populations and restore vigorous activity.
Most Common Rising Problems
Starter rising failures typically stem from a few specific issues that create predictable symptoms and have straightforward solutions.
Insufficient or Inconsistent Feeding
Underfed starters exhaust their food supply and become acidic environments where yeast cannot thrive effectively. Irregular feeding schedules stress the microbial balance, causing wild swings in activity levels that prevent consistent rising performance.
Signs include starter that rises briefly after feeding but quickly deflates, develops liquid separation on top, or shows decreasing peak heights over time. The solution involves establishing consistent daily feedings with proper ratios until activity stabilizes.
Wrong Feeding Ratios
Many beginners use 1:1:1 ratios regardless of starter condition, but weak starters need more food relative to their size to rebuild microbial populations. Conversely, very active starters may need less food to prevent over-fermentation and collapse.
Weak starters benefit from 1:2:2 or even 1:3:3 ratios (starter:flour:water) that provide abundant food for rebuilding yeast populations. Strong starters might need 2:1:1 ratios to slow fermentation and extend peak activity periods.
Temperature Issues
Cold environments below 70°F slow yeast activity dramatically, making starters appear dead when they’re simply dormant. Temperatures above 85°F can kill beneficial microbes or encourage harmful bacteria that compete with desirable yeast strains.
Most homes maintain temperatures too cool for optimal starter activity. Simple solutions include placing starters on top of refrigerators, near heating vents, or in slightly warm ovens with just the light on to maintain 75-80°F consistently.
Why is Your Sourdough Smelly?
Starter odors provide clear indicators of microbial health and can guide specific corrective actions for different problems.
Normal vs Concerning Smells
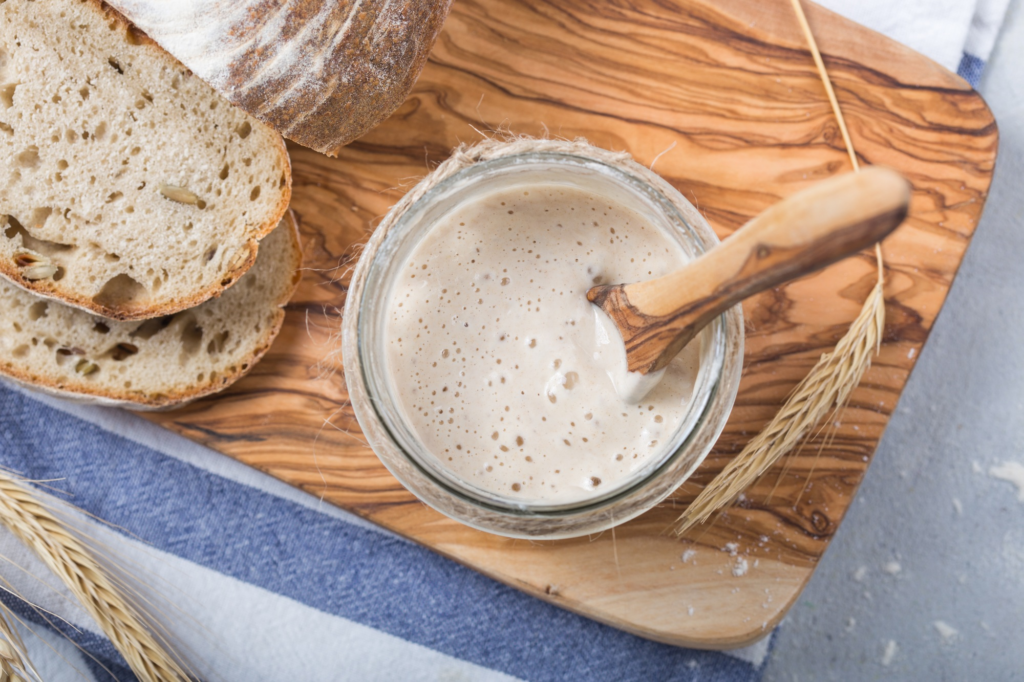
Healthy starters smell pleasantly tangy, yeasty, or mildly alcoholic when hungry. These odors indicate proper fermentation and balanced microbial activity that produces both leavening power and characteristic sourdough flavors.
Concerning smells include nail polish remover (acetone), strong alcohol, vomit-like odors, or musty/moldy scents that indicate microbial imbalances or contamination requiring immediate intervention.
Acetone and Alcohol Smells
Strong acetone or alcohol odors indicate starving starters where yeast has consumed all available sugars and begun producing alcohol as a survival mechanism. This creates hostile environments for continued yeast reproduction and leavening activity.
The solution involves discarding most of the starter and feeding with higher flour ratios (1:3:3 or 1:4:4) for several days to rebuild healthy populations. Multiple daily feedings may be necessary until normal odors return.
Vinegar and Overly Sour Smells
Extremely sour or vinegar-like odors suggest bacterial overgrowth that creates acidic conditions hostile to yeast activity. This often occurs from irregular feeding, warm temperatures, or contamination from unclean containers.
Correction requires discarding most starter, thorough container cleaning, and feeding with higher ratios of fresh flour while maintaining cooler temperatures (70-75°F) until bacterial balance improves.
Off or Rotten Smells
Truly foul odors resembling decay, vomit, or rotting vegetables indicate harmful bacterial contamination that has overwhelmed beneficial microbes. These starters are unsafe and should be discarded completely.
Prevention involves using clean containers, filtered water, and unbleached flour while maintaining proper feeding schedules. Starting fresh with better hygiene practices proves more reliable than attempting to rehabilitate contaminated cultures.
Water and Flour Quality Issues
The ingredients you feed your starter directly impact microbial health and can cause persistent problems that feeding schedule changes cannot fix.
Chlorinated Water Problems
Municipal tap water contains chlorine and chloramines that inhibit or kill the beneficial microbes essential for starter health. Even small amounts can accumulate over time and gradually weaken starter activity until rising becomes impossible.
Solutions include using filtered water, letting tap water sit uncovered for 24 hours to allow chlorine evaporation, or switching to bottled spring water. Many starter problems resolve quickly once chlorine exposure stops.
Flour Quality and Type
Bleached flour contains chemical residues that harm starter microbes, while enriched flours include additives that can interfere with fermentation. Low-protein flours provide insufficient nutrition for robust microbial growth and yeast reproduction.
Unbleached all-purpose or bread flour provides optimal nutrition and neutral environments for starter health. Whole grain flours like rye or whole wheat accelerate fermentation but require adjusted feeding ratios to prevent over-activity and quick spoilage.
Mineral Content Effects
Water mineral content affects starter pH and microbial activity in ways that can enhance or inhibit fermentation. Very soft water may lack minerals necessary for yeast health, while hard water can create alkaline conditions that slow acid-producing bacteria.
Spring water typically provides balanced mineral content ideal for starter health. If using well water or very hard/soft municipal water, consider switching to spring water to eliminate this variable when troubleshooting persistent problems.
Container and Hygiene Issues
The containers and cleanliness practices used for starter maintenance directly impact microbial health and can introduce contaminants that cause persistent problems.
Container Material Effects
Metal containers can react with starter acidity over time, introducing metallic flavors and potentially harmful compounds. Plastic containers may harbor bacteria in scratches and absorb odors that affect starter flavor development.
Glass containers provide the most neutral environment for starter development and allow visual monitoring of activity and growth patterns. Wide-mouth jars facilitate easy feeding and cleaning while preventing contamination from narrow openings.
Cleaning and Sterilization
Soap residues can harm starter microbes, while insufficient cleaning allows harmful bacteria to accumulate and compete with beneficial organisms. Many starter problems stem from containers that appear clean but harbor invisible bacterial contamination.
Proper cleaning involves hot water rinses followed by air drying or clean towel drying. Avoid soap unless containers are visibly dirty, and never use antibacterial products that can kill beneficial starter microbes along with harmful ones.
Cross-Contamination Prevention
Using the same spoons or measuring tools for multiple ingredients can introduce contaminants or competing microbes that disrupt starter balance. Even clean utensils from dishwashers may carry detergent residues harmful to delicate microbial ecosystems.
Dedicated starter tools that receive only hot water cleaning provide the safest approach for maintaining healthy cultures. This attention to hygiene prevents many common starter problems before they develop.
Seasonal and Environmental Challenges
External conditions beyond your control can affect starter performance and require adjustments to maintain consistent activity throughout the year.
Humidity Effects
Low humidity causes starter surfaces to dry out and form skins that inhibit gas escape and proper rising. High humidity can encourage mold growth or surface contamination that competes with desired microbes.
Covering starters with damp cloths in dry conditions or using loose lids that allow gas escape while preventing moisture loss helps maintain optimal surface conditions for healthy fermentation.
Seasonal Temperature Swings
Winter heating systems create dry, warm conditions that can stress starters, while summer heat may accelerate fermentation beyond manageable levels. Air conditioning can create temperature fluctuations that disrupt feeding schedules and microbial balance.
Monitoring starter locations throughout seasons and adjusting feeding ratios or frequencies based on observed activity levels maintains consistency despite changing environmental conditions.
Altitude Considerations
High altitude environments affect fermentation speed, moisture evaporation, and gas retention in ways that require feeding ratio adjustments. Lower air pressure allows gas bubbles to expand more easily but also causes faster moisture loss.
High-altitude bakers often need to reduce feeding ratios slightly and increase feeding frequency to maintain starter health. These adjustments become more critical above 3,000 feet elevation where atmospheric effects become pronounced.
Timing and Feeding Schedule Problems
Inconsistent or inappropriate feeding schedules create stress cycles that prevent starters from establishing stable microbial populations and predictable activity patterns.
Feeding Frequency Issues
Daily feeding works for most home bakers, but very active starters in warm conditions may need twice-daily feeding to prevent over-fermentation and collapse. Conversely, cool conditions may allow feeding every other day without harmful effects.
Observe your starter’s peak activity timing – if it doubles and begins deflating within 6 hours, increase feeding frequency or reduce ratios. If it takes more than 12 hours to peak, increase ratios or reduce feeding frequency.
Weekend and Travel Disruptions
Irregular schedules from travel or lifestyle changes stress starter microbial populations and can cause temporary activity loss that takes days to recover. Even missing single feedings can disrupt delicate balance in young or weak starters.
Refrigeration provides temporary storage solutions for up to a week without feeding, though starters need 2-3 room temperature feedings to return to full activity. For longer storage, dried starter backups ensure culture preservation during extended absences.
Recovery Feeding Protocols
Starters showing declining activity benefit from intensive feeding schedules with higher ratios for 3-5 days to rebuild microbial populations. This temporary intensive care approach often resolves problems that seem persistent or unfixable.
Feed struggling starters 1:3:3 ratios twice daily at room temperature until doubling time reaches 4-8 hours consistently. Then gradually return to normal maintenance schedules while monitoring for continued stability.
Diagnostic Steps for Problem Solving
Systematic troubleshooting helps identify the specific causes of starter problems and determines the most effective corrective actions.
Activity Assessment
Measure starter height before and after feeding to track doubling patterns and peak timing. Healthy starters should double within 4-8 hours at 75-80°F and maintain peaks for 2-4 hours before gradually deflating.
Document feeding times, ratios, temperatures, and peak activities for several days to identify patterns. Many problems become obvious when tracked systematically rather than guessed at randomly.
Smell and Appearance Evaluation
Note specific odor characteristics, surface appearance, and any liquid separation (hooch) that develops. These visual and olfactory cues provide clear indicators of microbial health and appropriate corrective actions.
Healthy starters show dome-shaped peaks with uniform bubble structure throughout. Flat surfaces, large irregular holes, or gray/pink discoloration indicate specific problems requiring targeted solutions.
Float Test for Readiness
Drop a small spoonful of starter into water – healthy, active starter floats due to gas incorporation, while weak starter sinks. This simple test provides objective assessment of leavening power regardless of visible rise.
Use float tests to determine baking readiness rather than relying solely on timing or height measurements. Starters that float consistently demonstrate sufficient strength for successful bread making.
Recovery Protocols for Common Problems
Specific treatment protocols address different starter problems and restore healthy activity within predictable timeframes.
Reviving Weak or Sluggish Starters
Discard all but 25g of starter and feed with 75g flour and 75g filtered water (1:3:3 ratio) twice daily at room temperature. Maintain this intensive feeding schedule for 5-7 days until consistent doubling occurs within 6-8 hours.
Gradually reduce to 1:2:2 ratios, then 1:1:1 as activity stabilizes. This systematic approach rebuilds yeast populations while providing abundant nutrition for recovery.
Addressing Overly Sour Starters
Reduce acidity by discarding more starter and feeding with higher ratios of fresh flour. Use 1:4:4 ratios and cooler temperatures (70-72°F) to slow bacterial activity while encouraging yeast growth.
Feed every 12 hours rather than daily to prevent over-fermentation while providing consistent nutrition. Most overly sour starters return to balanced flavor within one week of adjusted feeding protocols.
Eliminating Off Odors
For acetone or alcohol smells, increase feeding ratios dramatically (1:5:5) for 3-4 days while maintaining room temperature. This dilutes accumulated waste products while providing abundant fresh food for yeast recovery.
For bacterial contamination odors, discard most starter, clean containers thoroughly, and restart feeding protocols with filtered water and unbleached flour. Prevention requires maintaining cleaner practices going forward.
Prevention Strategies
Establishing proper maintenance routines prevents most common starter problems and creates resilient cultures that withstand occasional neglect or environmental changes.
Consistent Maintenance Routine
Feed starters at the same time daily using consistent ratios and ingredients. This regularity helps establish stable microbial populations that resist disruption from minor environmental changes or occasional schedule variations.
Use the same flour brand and water source when possible to eliminate variables that can stress starter ecosystems. Consistency in ingredients prevents many problems before they develop into serious issues.
Environmental Control
Maintain starter temperatures between 75-80°F through strategic placement or simple warming methods. Monitor temperatures with stick-on thermometers to ensure consistency regardless of seasonal changes or household heating patterns.
Protect starters from direct sunlight, drafts, and temperature fluctuations that stress microbial populations. Stable environments produce more predictable starter behavior and reduce troubleshooting needs.
Backup Culture Maintenance
Maintain dried starter backups by spreading thin layers on parchment paper and air-drying completely before storing in airtight containers. These backups preserve your specific culture strains and enable quick recovery from major contamination or loss.
Refresh dried starters by rehydrating with equal weights of water and flour, then following normal feeding protocols for 3-5 days. This preservation method provides insurance against starter disasters while maintaining genetic consistency.
When to Start Over
Sometimes starting fresh proves more efficient than attempting to rehabilitate severely compromised starters, especially for beginners still learning proper maintenance techniques.
Contamination Indicators
Visible mold, consistently foul odors despite correction attempts, or pink/orange discoloration indicate serious contamination that poses health risks. These starters should be discarded immediately without attempts at rehabilitation.
Trust your instincts about severely off odors or appearances – when in doubt, start fresh rather than risk health problems or continued frustration with unrecoverable cultures.
Persistent Problems
Starters that fail to respond to proper feeding protocols after 2 weeks of consistent care may have irreversible microbial imbalances. Starting fresh often proves faster than continued troubleshooting with damaged cultures.
Beginning bakers particularly benefit from starting over when problems persist, as this provides clean slates for implementing proper techniques without inherited problems from previous care mistakes.
Learning Opportunities
Starting new cultures provides opportunities to implement improved techniques and hygiene practices learned from previous experiences. This approach often results in stronger, more reliable starters than rehabilitated problem cultures.
Document what you learned from failed starters to prevent repeating mistakes with new cultures. These lessons prove invaluable for developing sustainable long-term starter maintenance skills that reflect broader principles of continuous improvement in artisanal food preparation.
Key Takeaways
- Most starter problems stem from incorrect feeding ratios, poor water quality, or inconsistent temperatures rather than mysterious or unfixable microbial issues.
- Healthy starters double in size within four to eight hours and smell pleasantly tangy, while problem starters show minimal rise and develop off odors.
- Recovery protocols using higher feeding ratios and consistent schedules restore most problematic starters within five to seven days of proper care.
Keep Reading
- Sourdough Starter Maintenance Schedule: Daily, Weekly, and Long-term Care – Master the feeding schedules and ratios needed to maintain healthy starter cultures for consistent bread baking results throughout the year.
- Complete Sourdough Starter from Scratch: 7-Day Creation Process – Learn the step-by-step process for creating robust sourdough cultures from flour and water using proper techniques and timing.
- Sourdough Bread Troubleshooting: Dense, Flat, or Gummy Loaf Solutions – Identify and fix common sourdough bread problems related to starter health, fermentation timing, and baking techniques for perfect loaves.
- Advanced Sourdough Techniques: Hydration, Fermentation, and Flavor Development – Download our comprehensive guide covering professional methods for optimizing starter performance and bread quality through advanced fermentation management.
- Sourdough Storage and Backup: Preserving Your Culture Long-term – Explore methods for storing, drying, and preserving sourdough cultures to prevent loss and maintain genetic consistency across years of baking.